HoneyBee stripper
-
LastHurrah

- Posts: 133
- Joined: Mon Jun 20, 2011 8:21 am
- Location: Burleson, Tx
Re: HoneyBee stripper
Sure is purty 
-
preacher

- TKF 2000 club

- Posts: 2385
- Joined: Wed Aug 15, 2007 8:56 am
- Location: Winnie, Texas
- Contact:
Re: HoneyBee stripper
Thanx Hurrah, you very kind. 
Building this boat may be theraputic but it is expensive. I just tripped over my camera tripod and broke it
I got a coat of resin on the boat to seal the wood and strengthen it. I also have a layer of 6 oz cloth on the hull and wrapped about 3 inches around the chines but I just discovered I don't have a picture yet. Went on very easy and laid down very good. I want to have 2 full layers on this hull and then a strip of 4 inch tape under the skeg for added strength, and yes Jerry I did that on your's also.
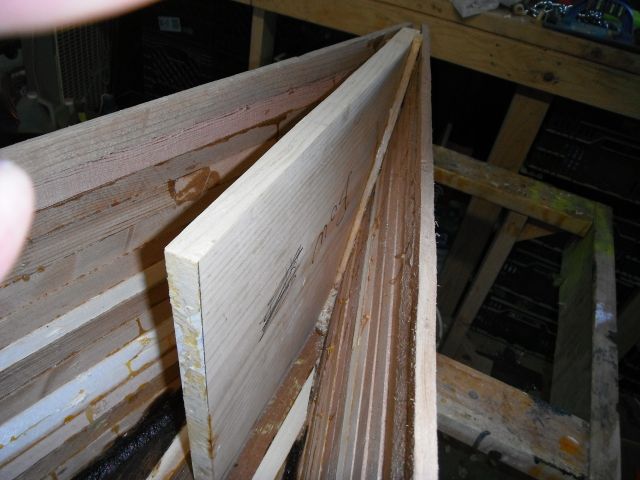
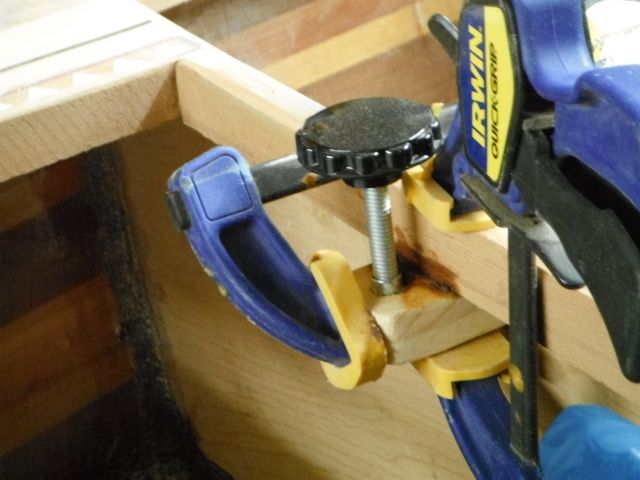
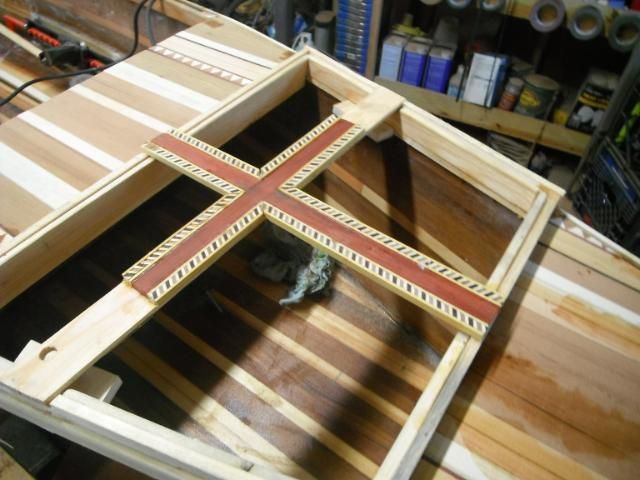
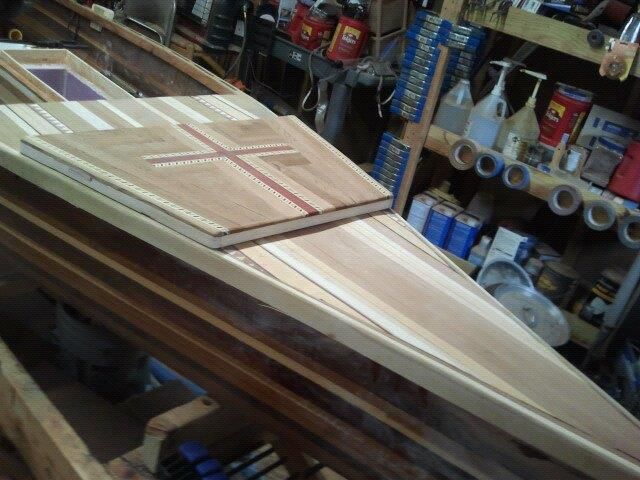
I am working at the same time on the deck inlays. I guess it is no supruize to anybody that I am including a cross. I had trouble getting the cross straight and had to manufacture a clamp brace but I now own a 90 degree clamp. The border of yellow wood is on the cross here the black and white pieces are just there for Mrs Preacher's aproval.
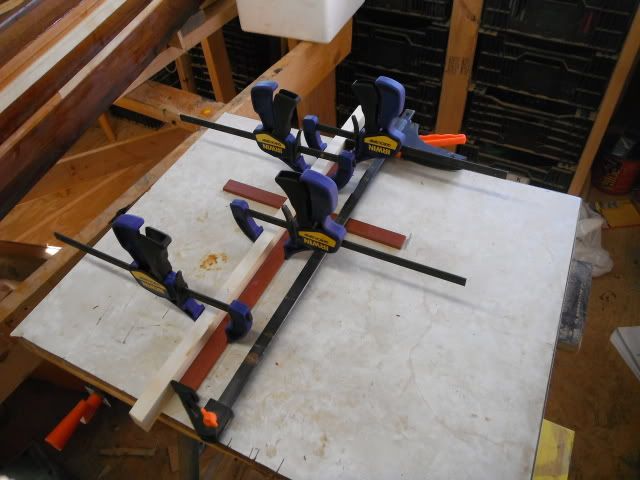
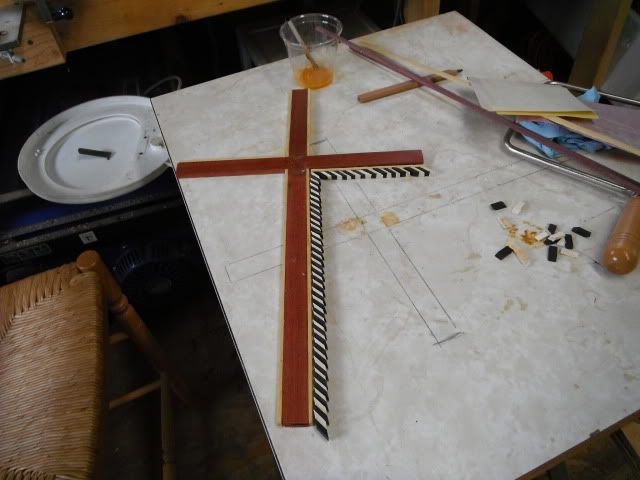
Got the A OK and started sanding each little piece and glueing them individually in place.
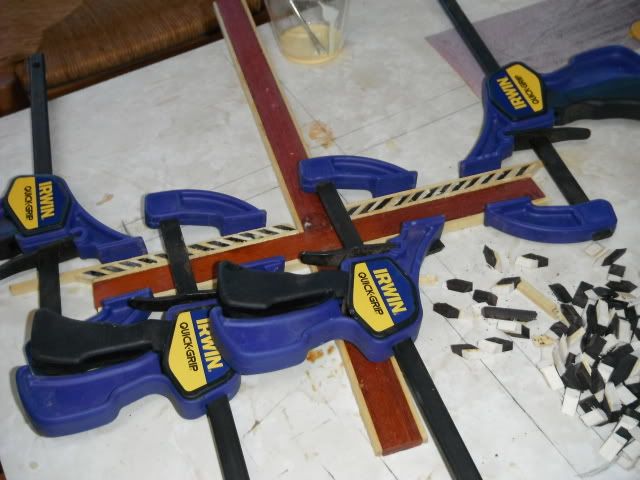
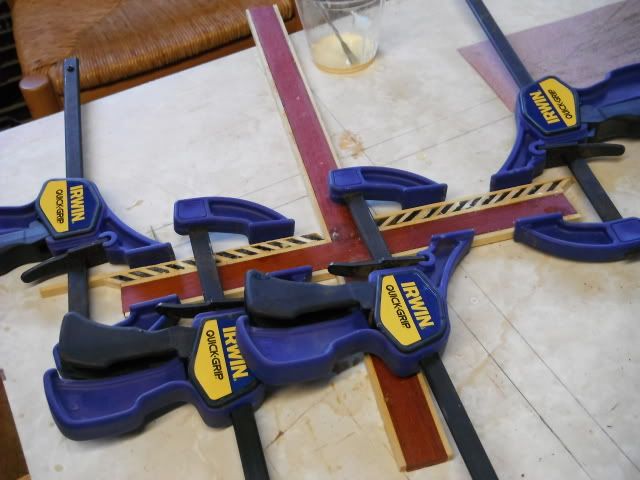
Like being marrried, labor intensive.
Building this boat may be theraputic but it is expensive. I just tripped over my camera tripod and broke it
I got a coat of resin on the boat to seal the wood and strengthen it. I also have a layer of 6 oz cloth on the hull and wrapped about 3 inches around the chines but I just discovered I don't have a picture yet. Went on very easy and laid down very good. I want to have 2 full layers on this hull and then a strip of 4 inch tape under the skeg for added strength, and yes Jerry I did that on your's also.
I am working at the same time on the deck inlays. I guess it is no supruize to anybody that I am including a cross. I had trouble getting the cross straight and had to manufacture a clamp brace but I now own a 90 degree clamp. The border of yellow wood is on the cross here the black and white pieces are just there for Mrs Preacher's aproval.
Got the A OK and started sanding each little piece and glueing them individually in place.
Like being marrried, labor intensive.
-
preacher
- TKF 2000 club
- Posts: 2385
- Joined: Wed Aug 15, 2007 8:56 am
- Location: Winnie, Texas
- Contact:
Re: HoneyBee stripper
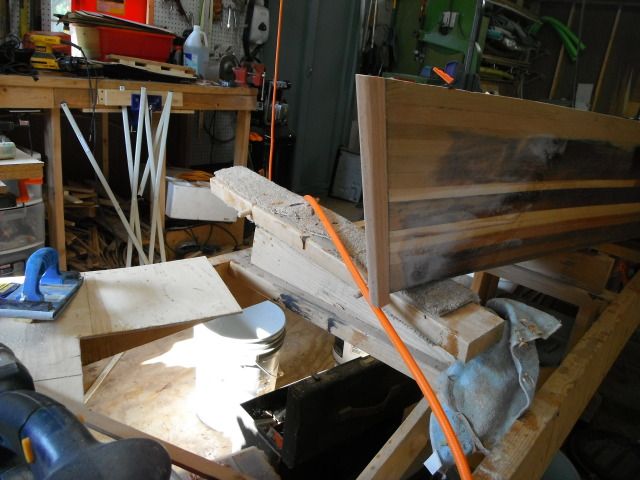
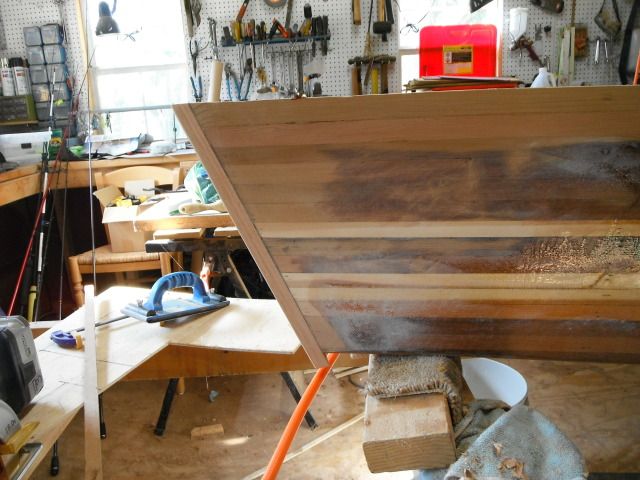
Finished sanding the inside and applied a saturation coat. Really made the colors pop.
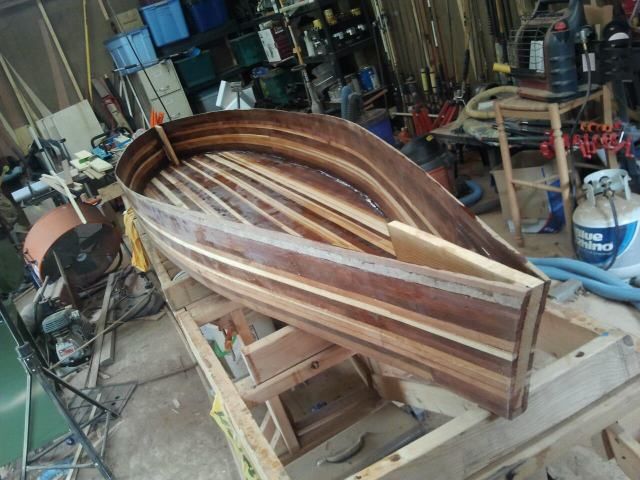
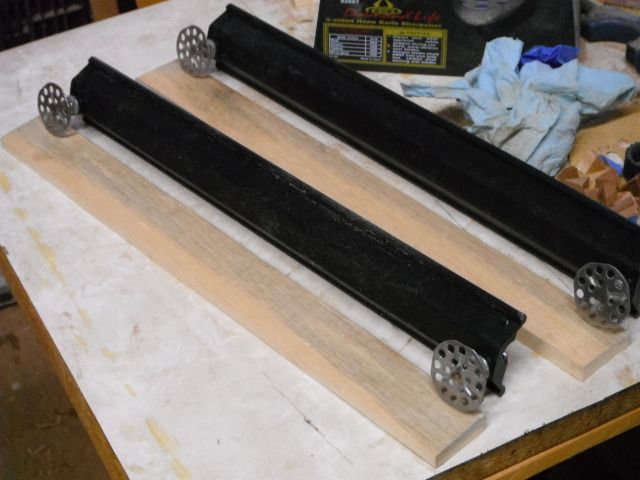
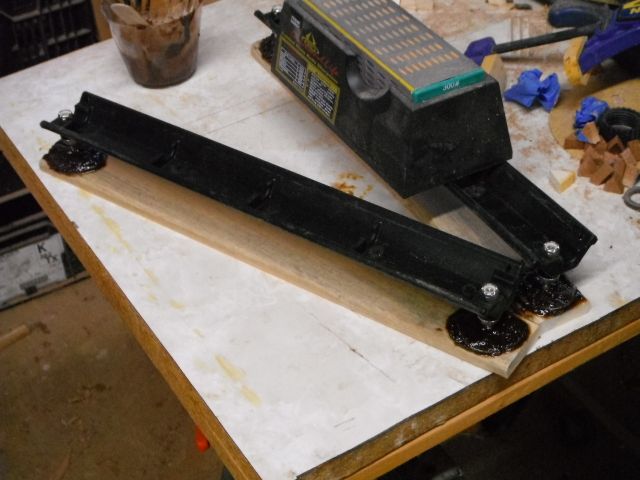
As you can see I am about to mount hardwood on the bow and stern keels and then lay glass inside.
Work and commitments are really cutting into my build time, but not stopping me.
As you can see I am about to mount hardwood on the bow and stern keels and then lay glass inside.
Work and commitments are really cutting into my build time, but not stopping me.
-
bowgarguide

- TKF 5000 Club

- Posts: 5370
- Joined: Mon Jan 15, 2007 7:52 pm
Re: HoneyBee stripper
Preacher
I missed this one , boy that is looking good ,
Ron
I missed this one , boy that is looking good ,
Ron
-
preacher
- TKF 2000 club
- Posts: 2385
- Joined: Wed Aug 15, 2007 8:56 am
- Location: Winnie, Texas
- Contact:
Re: HoneyBee stripper
If I don't get retired I ain't never gonna get thru with it. Haven't touched it in 10 days. 
-
preacher
- TKF 2000 club
- Posts: 2385
- Joined: Wed Aug 15, 2007 8:56 am
- Location: Winnie, Texas
- Contact:
Re: HoneyBee stripper
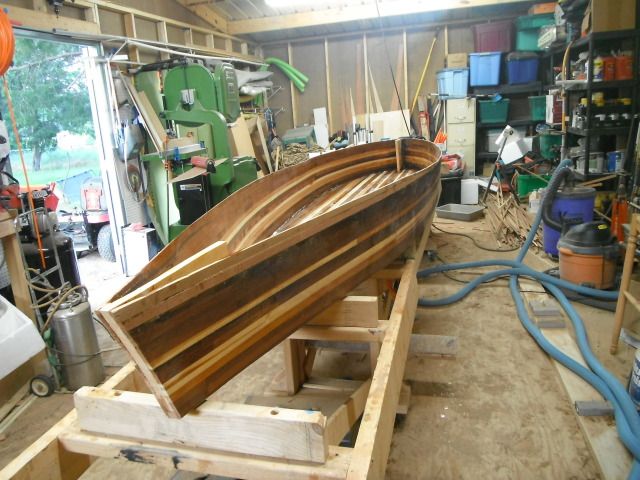
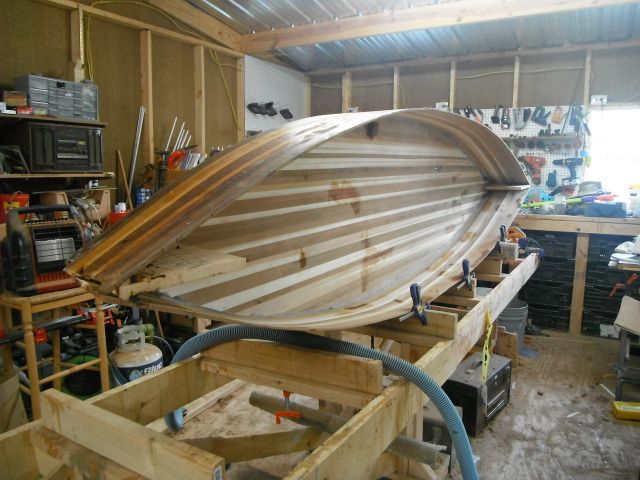
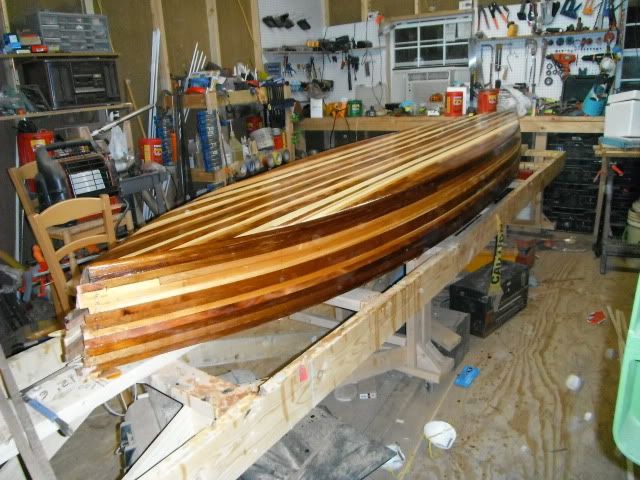
This puppy has 4" of rocker, 2" fore and 2" aft. Now I get to do some of the pretty stuff and add the bling.
-
preacher
- TKF 2000 club
- Posts: 2385
- Joined: Wed Aug 15, 2007 8:56 am
- Location: Winnie, Texas
- Contact:
Re: HoneyBee stripper
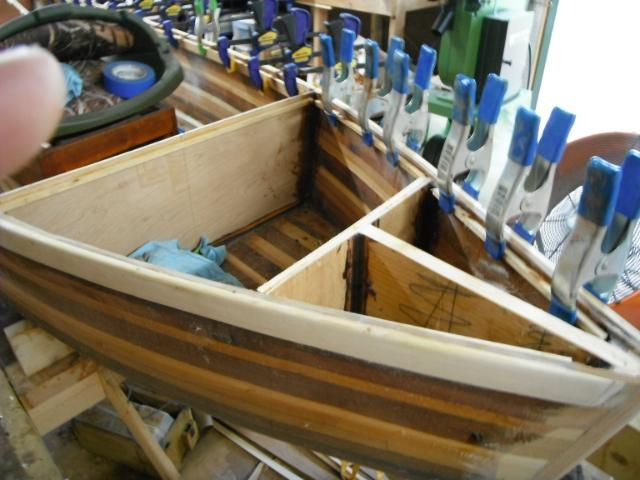
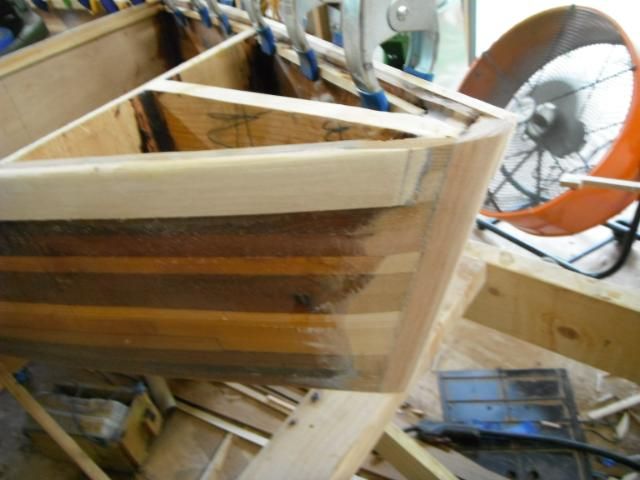
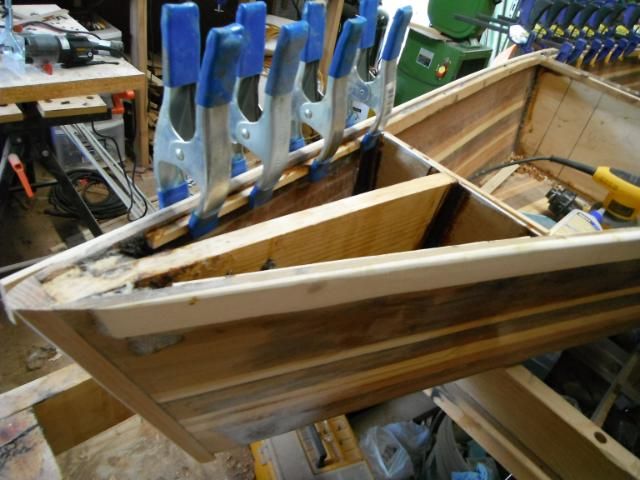

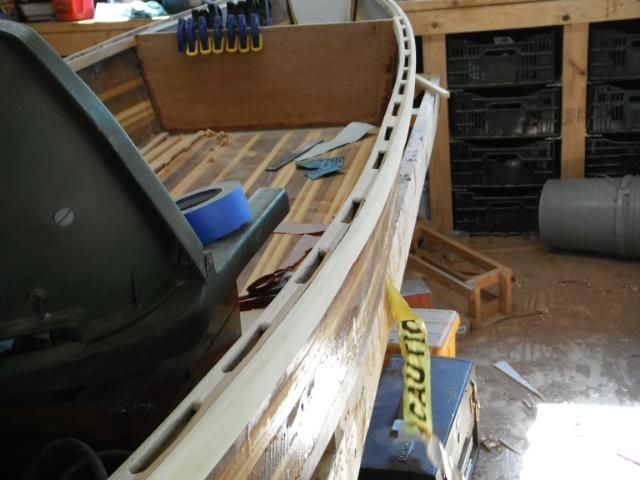
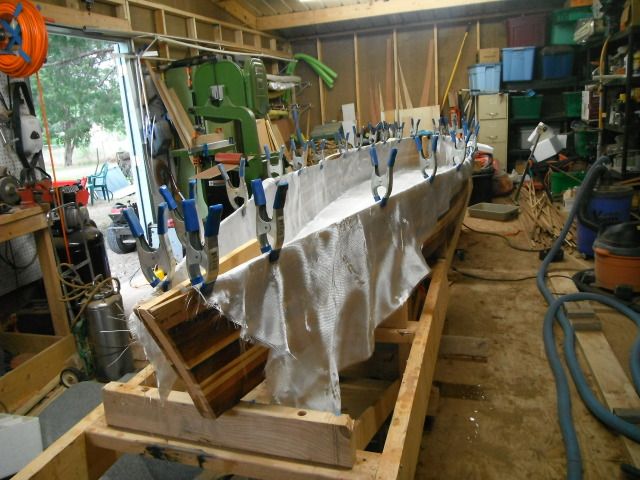
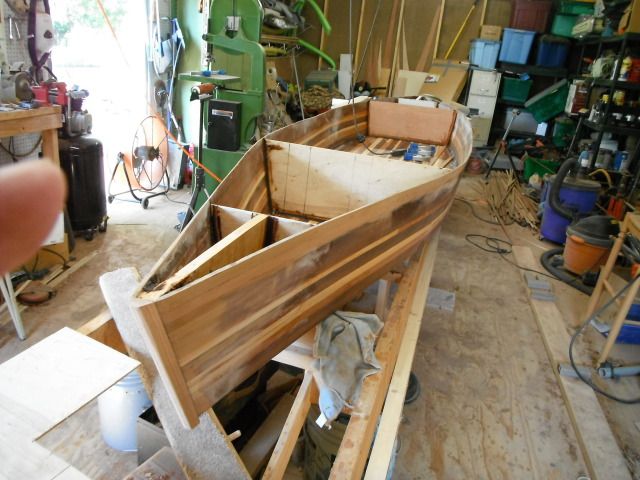
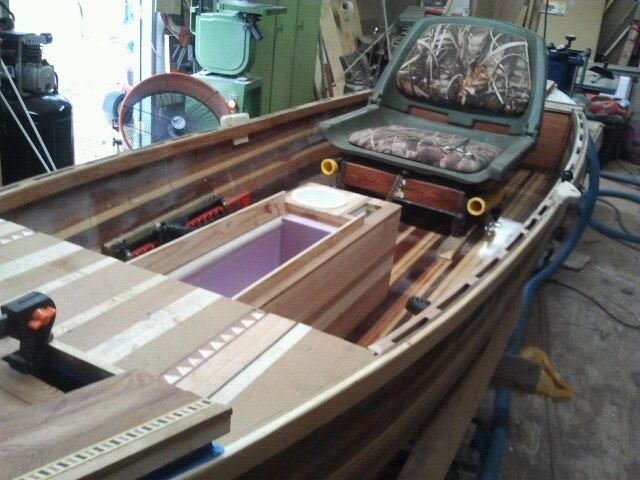
I'm not happy with the inlay process I started so it has been scrapped, but the rails are going in well and the Bee is starting to shape up. I wasn't happy with the amount of rocker I had in the boat so I pull about 1 inch out of each end. Got a little milder rocker and I may still add a skeg at the rear to make it track a litttle better. You die hard strippers probably already noticed that I used ply for my bulkheads it was just a lazy shortcut. The seat is just sitting in the boat to give me a perspective of what it will look like.

Re: HoneyBee stripper
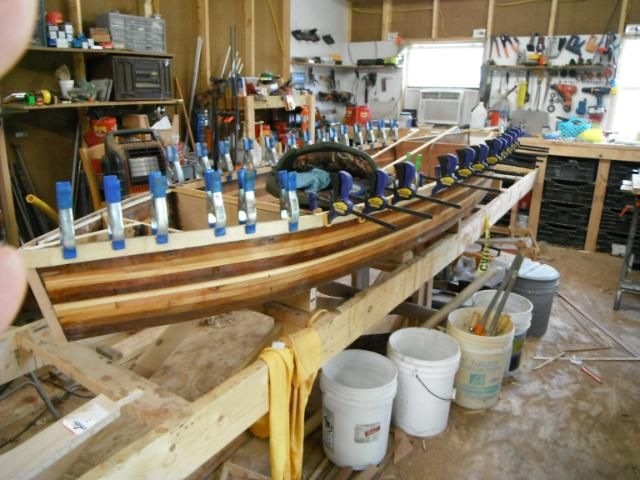
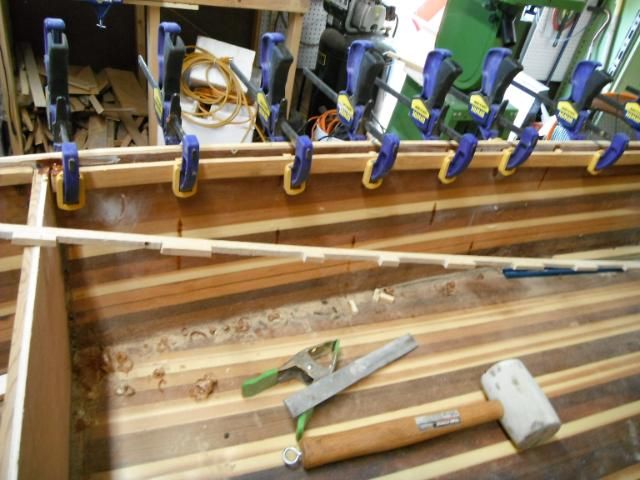
Looking great! Looks like you had a clamping party  I took some short cuts and used some ply on my current build. I just want to get the boat done and out on the water.

Re: HoneyBee stripper
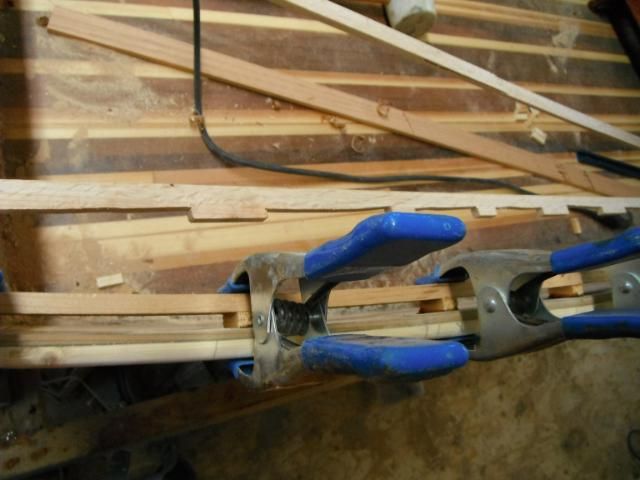
close inspection of the clamping reveals your entirly to organised 
those last few bits and pieces seem to take forever for me, good to see your proggress, going to be a head turner for sure.
MM
those last few bits and pieces seem to take forever for me, good to see your proggress, going to be a head turner for sure.
MM
-
preacher
- TKF 2000 club
- Posts: 2385
- Joined: Wed Aug 15, 2007 8:56 am
- Location: Winnie, Texas
- Contact:
Re: HoneyBee stripper
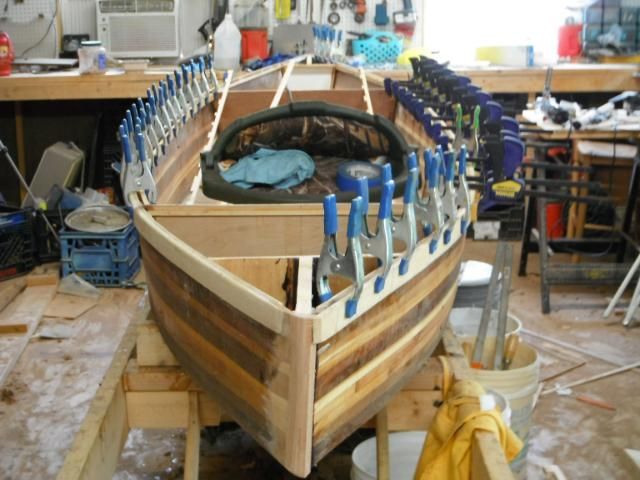
Great thing about hot weather is glue and epoxy dry fast.
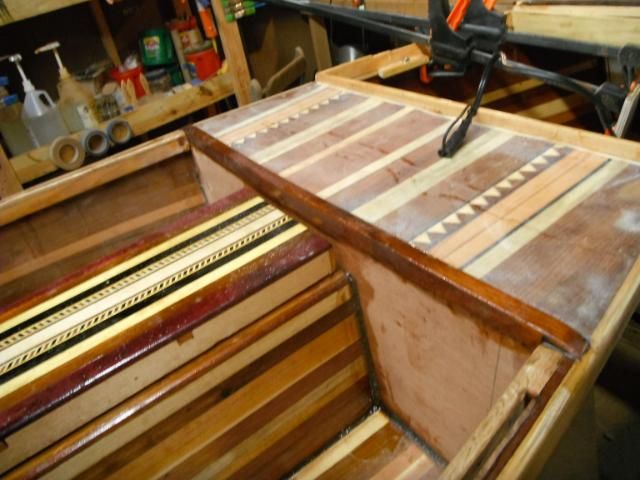
Finishing up on the stern deck with some inlays. Hatch is going to be a dry hatch no rain or spray seeping into this puppy.

Re: HoneyBee stripper
It will be an eye catcher...and the ply bulkheads could always be striped over if you don't like the look....Mabe by the time you are done it will be raining so you can test the hatch covers...
-
preacher
- TKF 2000 club
- Posts: 2385
- Joined: Wed Aug 15, 2007 8:56 am
- Location: Winnie, Texas
- Contact:
Re: HoneyBee stripper
awoodman wrote:It will be an eye catcher...and the ply bulkheads could always be striped over if you don't like the look....Mabe by the time you are done it will be raining
-
preacher
- TKF 2000 club
- Posts: 2385
- Joined: Wed Aug 15, 2007 8:56 am
- Location: Winnie, Texas
- Contact:
Re: HoneyBee stripper
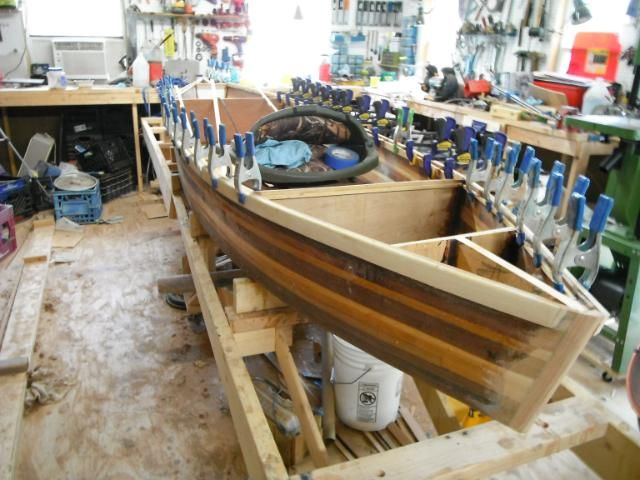
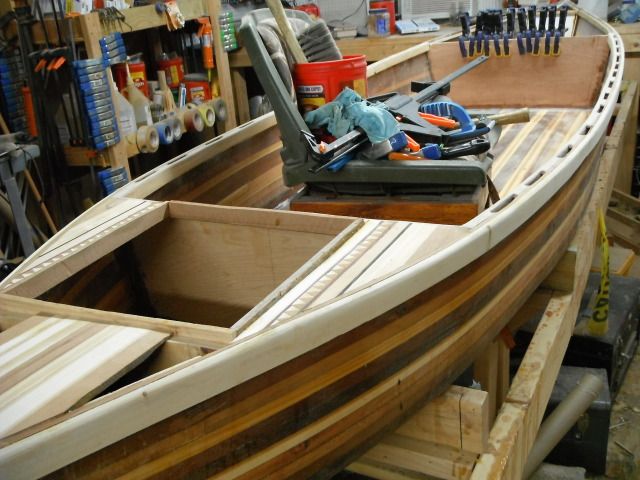
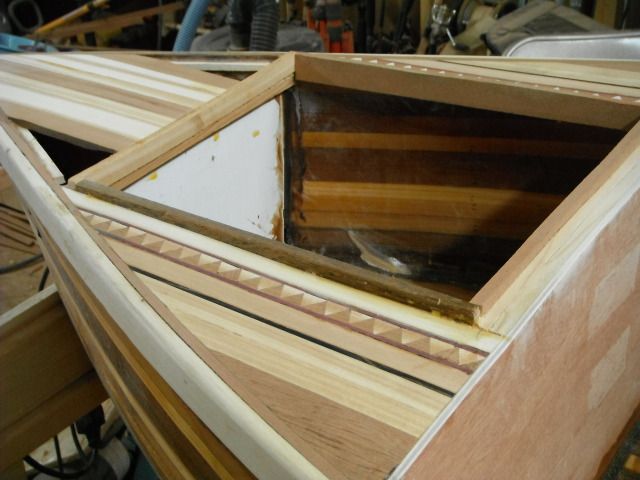
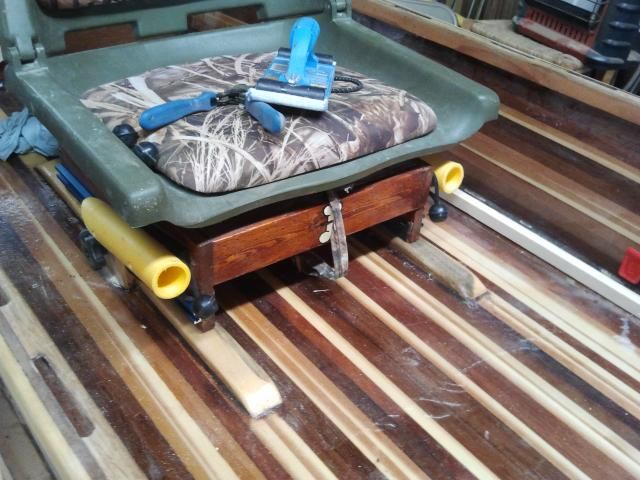
Doesn't take much to excite me, but this stage is exciting me. The stern deck and hatch are in, not glassed or anything like that but built.
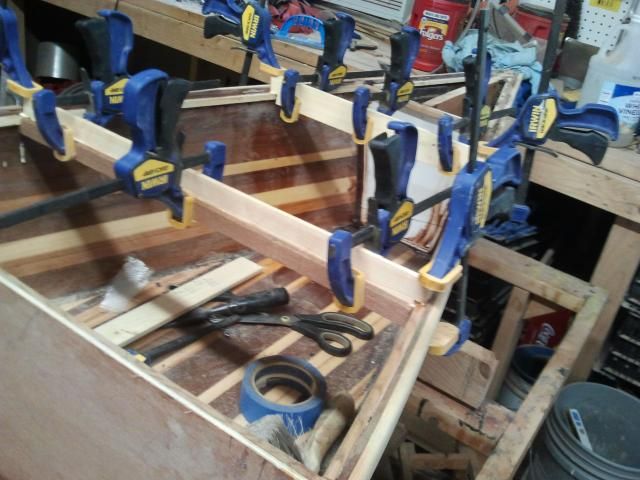
Seat rails are built but no resin or finish yet. Used a track from Rockler so the seat can be adjusted or locked down with the twist of a knob.
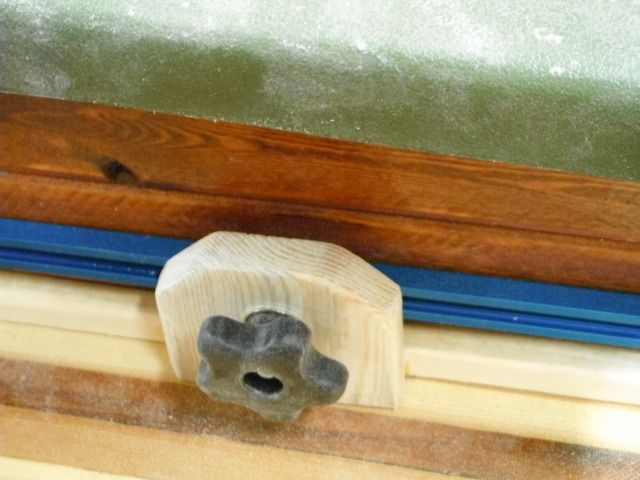
Rear hatch will also be secured with a knobed bolt and snugger type wooden hinges on the opposite side. Yes all 4 sides are different measurements so the hatch only goes on one way.
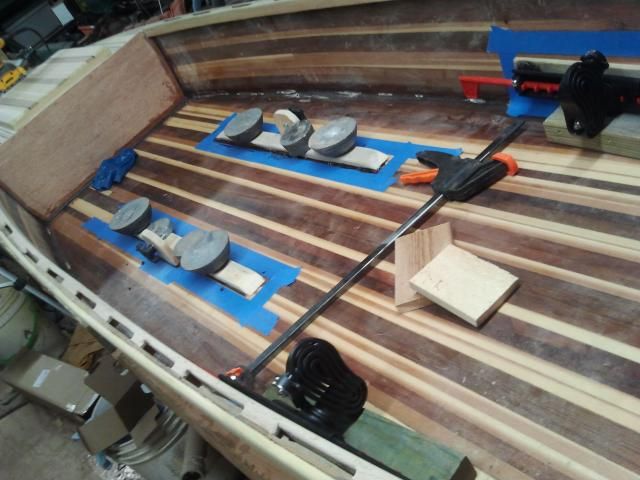
The frootrests are the epoxy mount studs and are set on a piece of wood which will be mounted to the gunnel with goopy, hopefully takes some stress off the sidewall.
Won't start on the front deck until I get the footrest and set rails totally completed.
Then glass the decks and install the skeg. After that I have some trim work I want to do before I apply the final resin fill coats and varnish.
Seat rails are built but no resin or finish yet. Used a track from Rockler so the seat can be adjusted or locked down with the twist of a knob.
Rear hatch will also be secured with a knobed bolt and snugger type wooden hinges on the opposite side. Yes all 4 sides are different measurements so the hatch only goes on one way.
The frootrests are the epoxy mount studs and are set on a piece of wood which will be mounted to the gunnel with goopy, hopefully takes some stress off the sidewall.
Won't start on the front deck until I get the footrest and set rails totally completed.
Then glass the decks and install the skeg. After that I have some trim work I want to do before I apply the final resin fill coats and varnish.
-
Archer4life

- Posts: 30
- Joined: Tue Mar 20, 2012 12:57 am
Re: HoneyBee stripper
Beautiful boat Preacher. I really like the way the stern deck and cover turned out. Keep up the great work and looking forward to seeing more.
-
preacher
- TKF 2000 club
- Posts: 2385
- Joined: Wed Aug 15, 2007 8:56 am
- Location: Winnie, Texas
- Contact:
Re: HoneyBee stripper
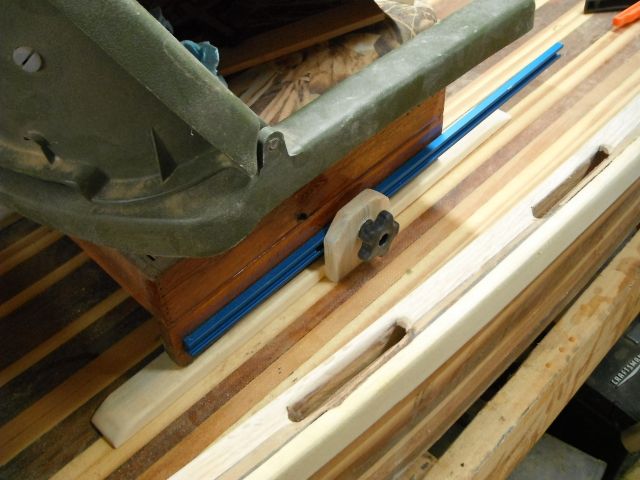
Starting to add some frills
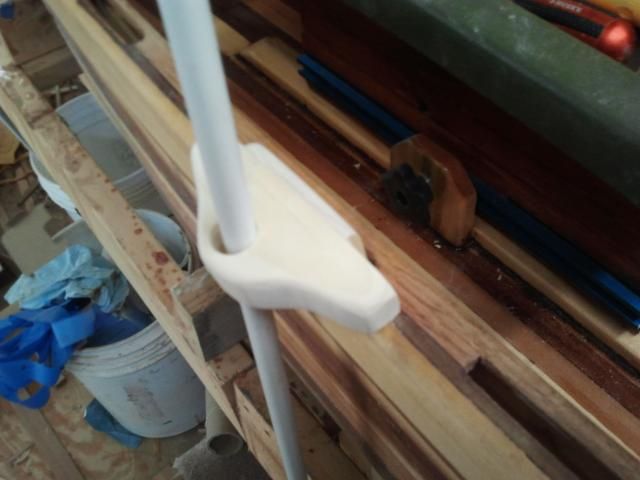
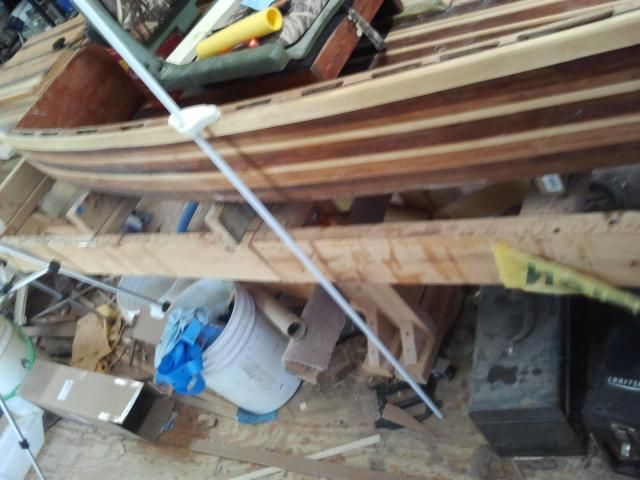
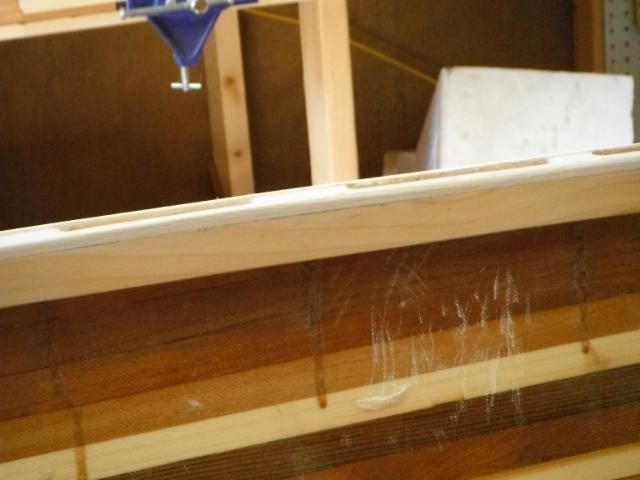
Stakeout pole holders. Slip in and out of the slots in the siderail top. Can actually put 1 or more on each side.
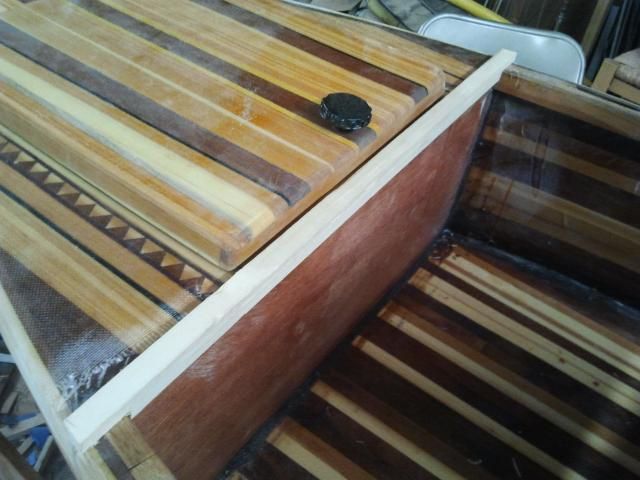
Drip shield along stern deck. Not complete.
Seat rails are epoxied in.
Footrest mounts are epoxied in.

Stern hatch is secured with a knobbed screw. (which is 1/4 inch short, another trip to Elliot's Hardware)
Stakeout pole holders. Slip in and out of the slots in the siderail top. Can actually put 1 or more on each side.
Drip shield along stern deck. Not complete.
Seat rails are epoxied in.
Footrest mounts are epoxied in.
Stern hatch is secured with a knobbed screw. (which is 1/4 inch short, another trip to Elliot's Hardware)
-
bowgarguide
- TKF 5000 Club
- Posts: 5370
- Joined: Mon Jan 15, 2007 7:52 pm
Re: HoneyBee stripper
I need to see this boat in person ,you really have some neat ideals on this one ,and its pretty as usual.
Ron
Ron
-
preacher
- TKF 2000 club
- Posts: 2385
- Joined: Wed Aug 15, 2007 8:56 am
- Location: Winnie, Texas
- Contact:
Re: HoneyBee stripper
Starting on front deck.
Got rod holders installed.
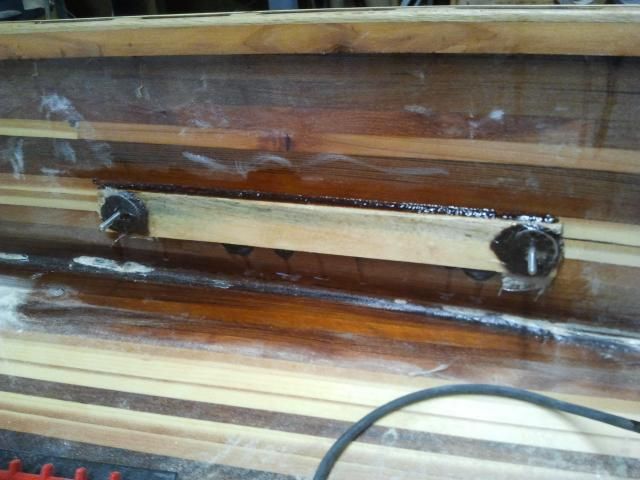
Cheap and easy way to secure paddle and/or stakeout pole.
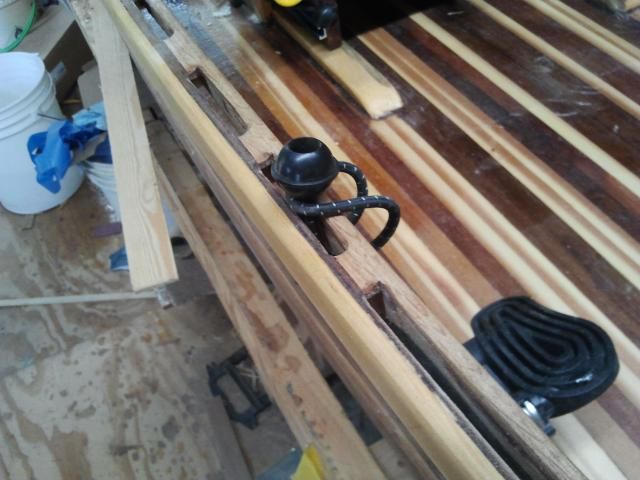
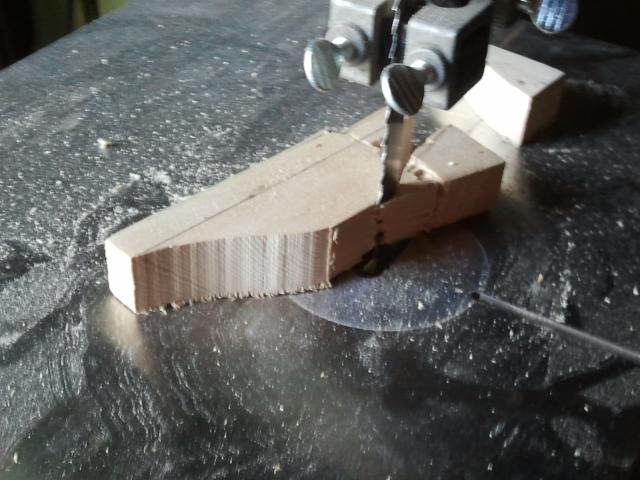
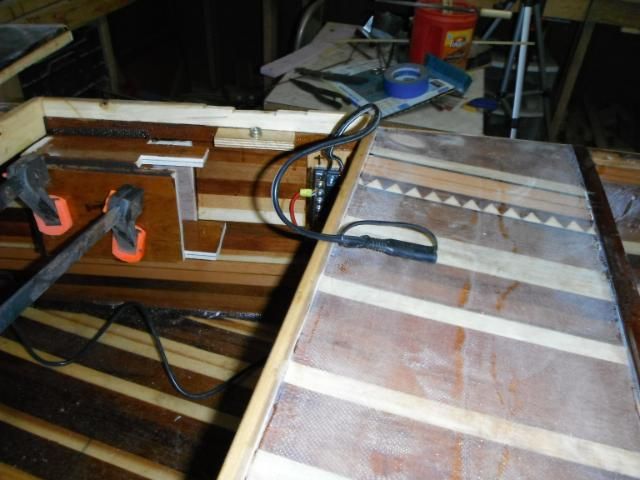
Trial run on hatch keeper design.
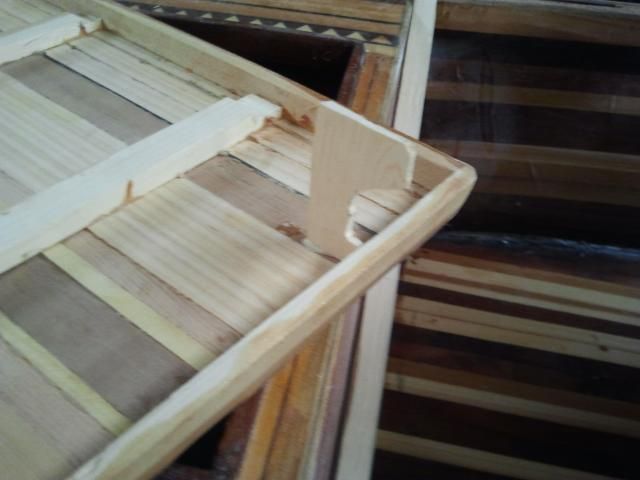
Ordered me a planer tonight so I can start on my inlays for the front deck.
Got rod holders installed.
Cheap and easy way to secure paddle and/or stakeout pole.
Trial run on hatch keeper design.
Ordered me a planer tonight so I can start on my inlays for the front deck.
-
preacher
- TKF 2000 club
- Posts: 2385
- Joined: Wed Aug 15, 2007 8:56 am
- Location: Winnie, Texas
- Contact:
Re: HoneyBee stripper
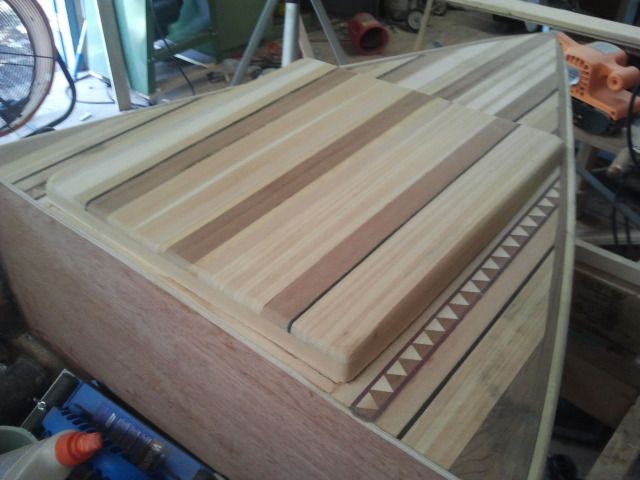
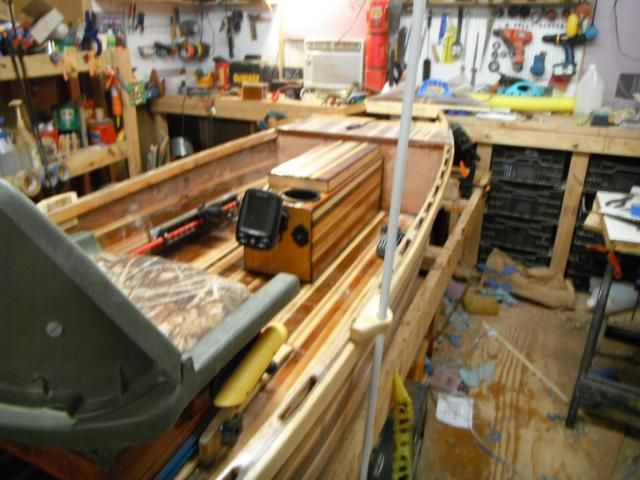
Front deck is stripped and I'm building the front hatch cover
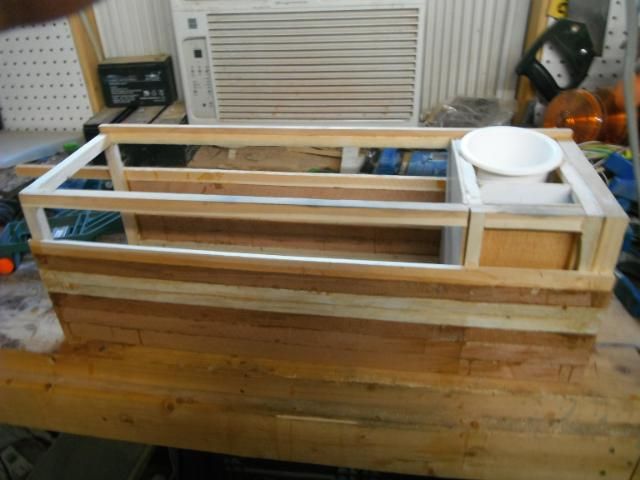
Now I'm alternating on the hatch cover and a center console while waiting for glue to dry.
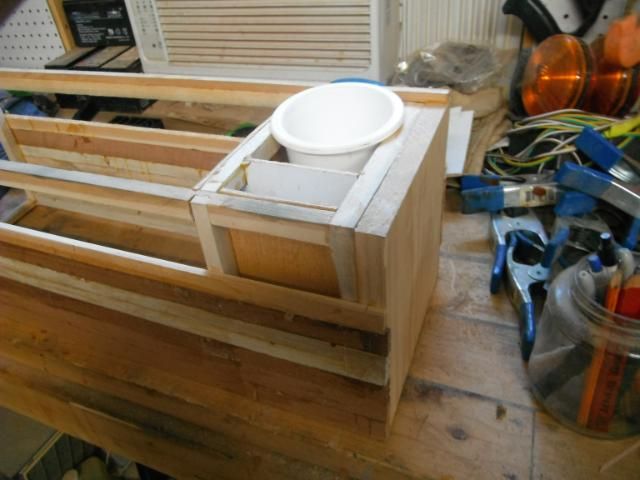
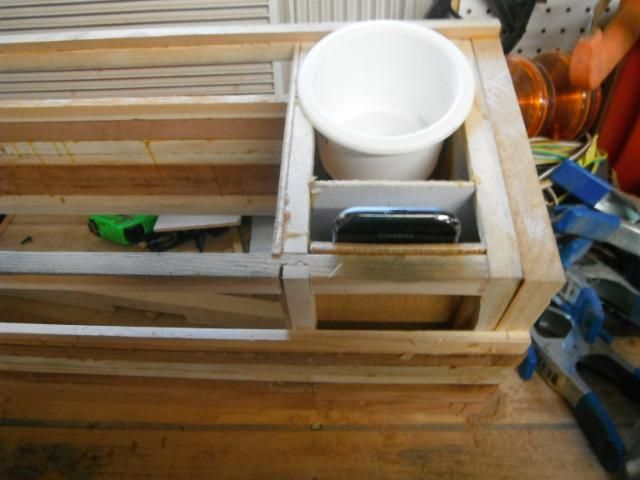

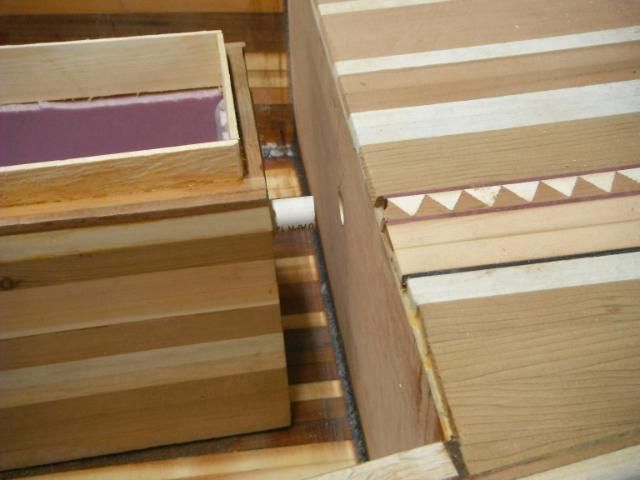
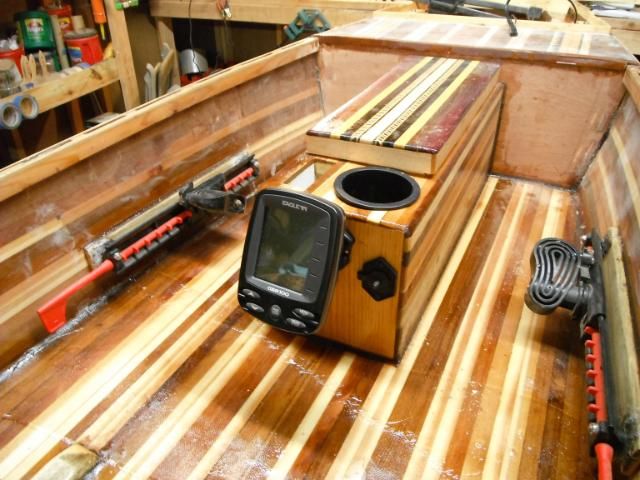
The console acts as a permanent cooler lined with 1" styrofoam in walls and lid, 1 1/2" in floor.
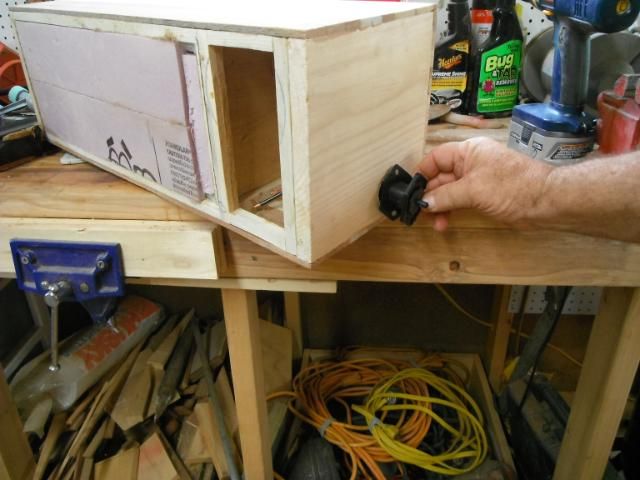
Infront of the paddler is a 12 VDC plug for accessories, a cell phone holder, cup holder, and a depth finder wired to the battery in front hatch.
The front hatch will be complete today but I'm not going to show another pic until it is finished.
The lid for the console is not complete yet also.
Re: HoneyBee stripper
Looking great Not much activity on this board lately... but I'm watching
-
preacher
- TKF 2000 club
- Posts: 2385
- Joined: Wed Aug 15, 2007 8:56 am
- Location: Winnie, Texas
- Contact:
Re: HoneyBee stripper
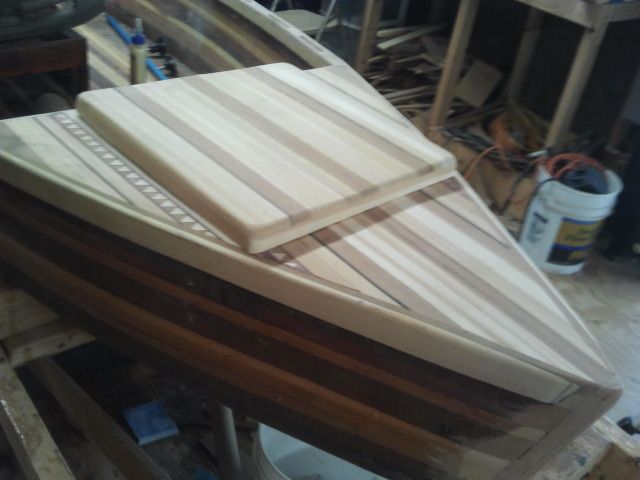
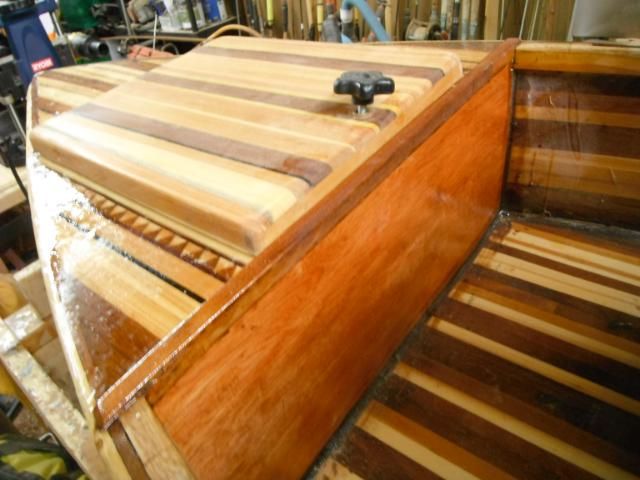
The front hatch cover is finished except for glass and finish coat. I tried to create a parquet floor effect and am somewhat pleased with the outcome. After I wet it out may be a different story but dry sanded it looks okay. The biggest fear and challenge was drilling 2 holes for the retainer bolts. Both came in less than 1/32th off center. WHEW!
The console is complete but still not installed until I do all the glass work I want done. The console cover is also built but not pictured yet. Quite a novel design. I did a representation of 5 different woods along with the barberpole inlay on this lid. Pretty colorful may even border on gaudy
I plan on paddling this baby at the TFF GTG on September 29th at Grapevine and maybe break it in with some good ole fish slime.
-
preacher
- TKF 2000 club
- Posts: 2385
- Joined: Wed Aug 15, 2007 8:56 am
- Location: Winnie, Texas
- Contact:
Re: HoneyBee stripper
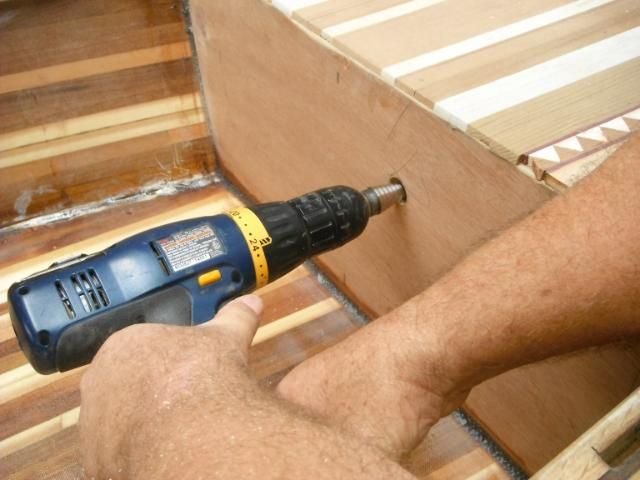
Console is goopied in and drip rails are installed front and rear,
Instruments are wired in.
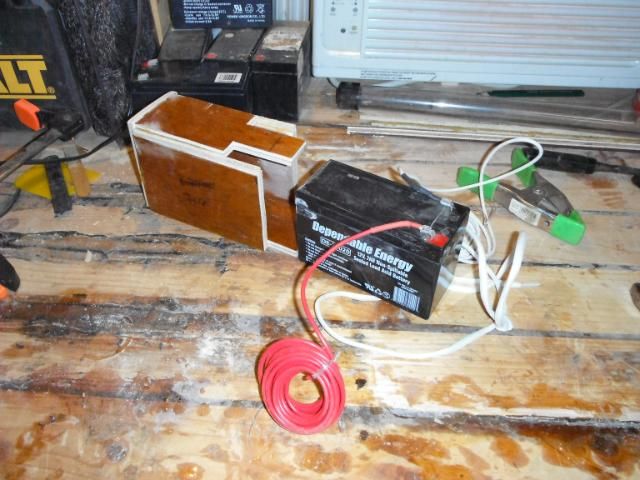
Battery box is constructed.
Installed along with the wiring terminal and charger stubout.
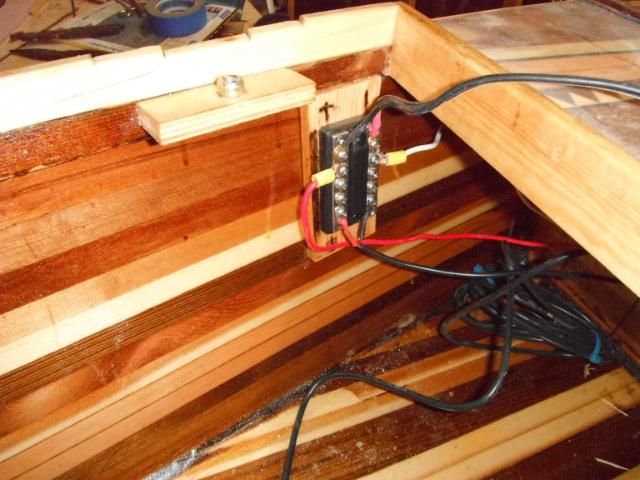
She is sanded and ready for final resin coat. Then comes the varnish.